What is Ansible?
Ansible is an open-source configuration management tool maintained by Red Hat. Ansible enables you to define server configuration as Infrastructure as Code, which within the Ansible world is known as Playbooks and is written in YAML. Ansible is completely agentless therefore, it operates over SSH (Linux) or WINRM (Windows).
What is Azure DevOps?
Azure DevOps is the evolution of Visual Studio Team Services, bringing Cloud hosted SaaS platform which continually improves. Azure DevOps is Cloud agnostic and integrates into most market-leading tooling.
Azure DevOps + Ansible
The below section is a technical guide on how to integrate Ansible and Azure DevOps.
To follow this, I would recommend installing the following:
- Visual Studio Code - https://code.visualstudio.com/
- YAML Visual Studio Extension -https://marketplace.visualstudio.com/items?itemName=redhat.vscode-yaml
- Azure Tools Visual Studio Code Extension -https://marketplace.visualstudio.com/items?itemName=ms-vscode.vscode-node-azure-pack
- Git - https://git-scm.com/downloads
- Azure PowerShell Modules - https://docs.microsoft.com/en-us/powershell/azure/install-az-ps?view=azps-4.4.0
- Azure Subscription
- Azure DevOps Project
Ansible requires a Linux server that can communicate to nodes you desire to configure. For this blog, I have created an Azure ARM Template which will provision a single Azure CentOS VM with Ansible pre-installed:
git clone https://github.com/ryanmstephens/blog.git

cd .\blog\Ansible\Ansible-ARM

Connect-AzAccount

Select-AzSubscription -SubscriptionId <SubscriptionID>

New-AzResourceGroup -Name <ResourceGroupName> -Location <AzureRegion>

New-AzResourceGroupDeployment -Name ansible -ResourceGroupName <ResourceGroupName> -TemplateFile .\azuredeploy.json -TemplateParameterFile .\azuredeploy.parameters.json
Additionally, Ansible requires WINRM on Windows Server. Therefore, I have also created an Azure ARM template that provisions a Windows Server that has WINRM pre-configured using CREDSSP:
git clone https://github.com/ryanmstephens/blog.git

cd .\blog\Ansible\WindowsServer

Connect-AzAccount

Select-AzSubscription -SubscriptionId <SubscriptionID>

New-AzResourceGroup -Name <ResourceGroupName> -Location <AzureRegion>

New-AzResourceGroupDeployment -Name ansible -ResourceGroupName <ResourceGroupName> -TemplateFile .\azuredeploy.json -TemplateParameterFile .\azuredeploy.parameters.json

Also, you will require an Azure Key Vault, run the below PowerShell to deploy:

$ResourceGroupName = "<ResourceGroupName>"
$KeyVaultName = "<KeyVaultName>"
$Location = "<AzureRegion>"

$RG = Get-AzResourceGroup -Name $ResourceGroupName -ErrorAction SilentlyContinue
if (!$RG) {
    New-AzResourceGroup -Name $ResourceGroupName -Location $Location
}

New-AzKeyVault -Name $KeyVaultName -ResourceGroupName RGEUWKV01 -Location $Location
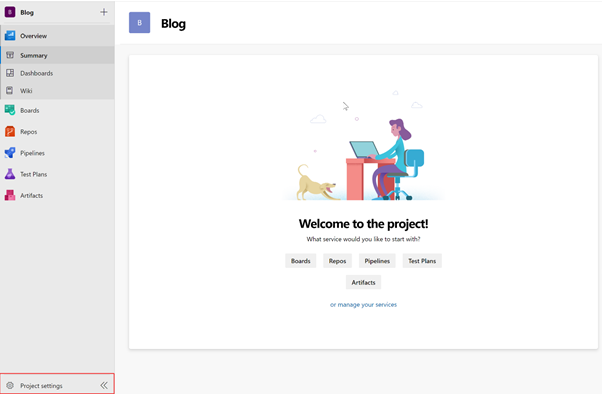
Once, the above has been deployed. Sign up to Azure DevOps and create a new project. Select “Project Settings” at the bottom left:
Then select Agent Pools:

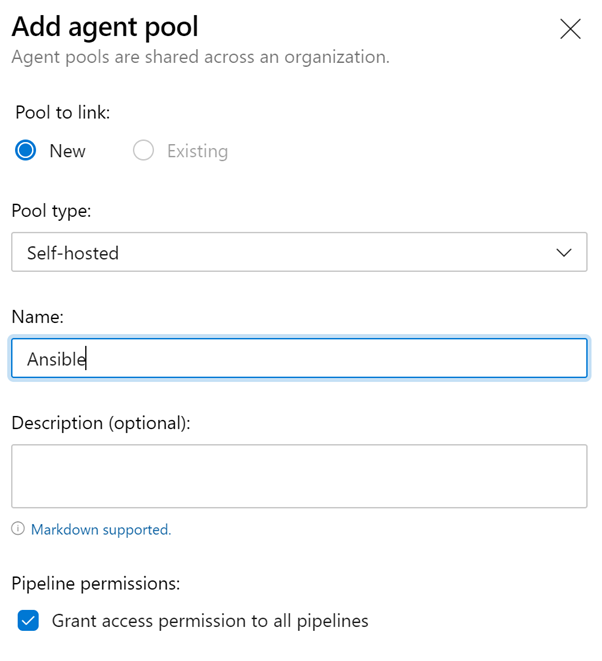
Select “New Agent”:

Select “Self Hosted” and enter an Agent pool name. I would recommend, naming it Ansible as this will be a used for the Ansible hosts:
Now select the settings button at the top right. Select “Personal Access Tokens”:

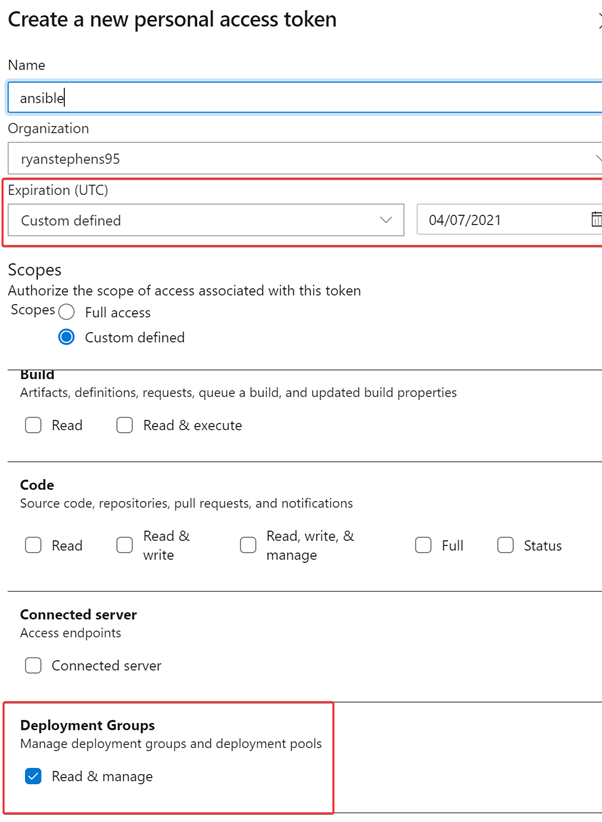
Name the Personal Access Tokens (PAT). Specify an expiry date and ensure that “Deployment Groups” has Read & Manage Permissions are selected:
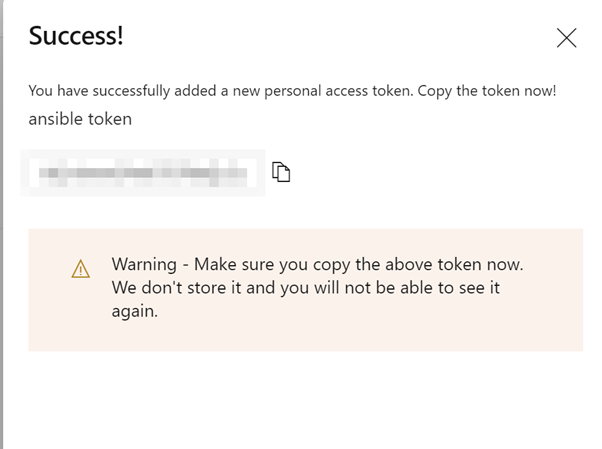
Azure DevOps will now display the PAT token in plain text. Copy the token and save it to the Azure Key Vault, as this token won’t be stored:
Now back to the Azure Portal, select the deployed Key Vault then select Access Policy and add Access Policy:
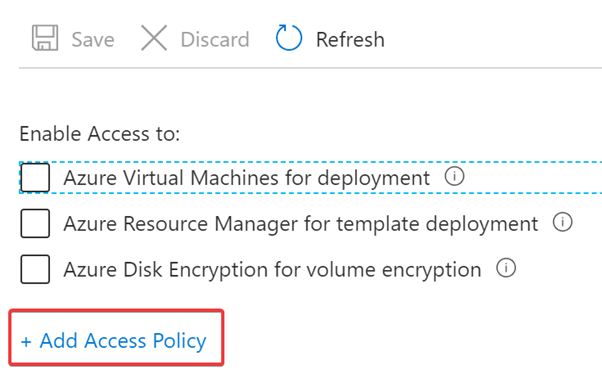
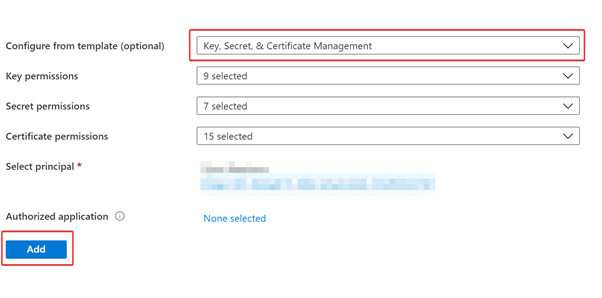
Enter your Azure Active Directory identity, then select the required permissions:
Now add the below secrets into your Azure Key Vault:

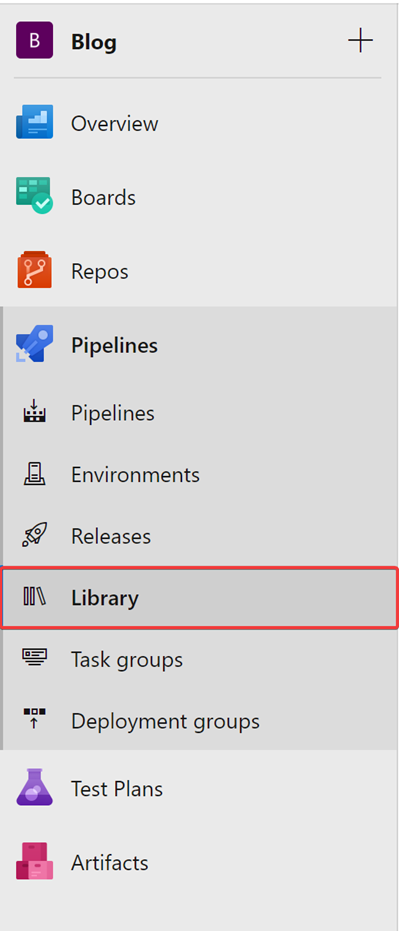
Now we need to link the Azure Key Vault Secrets to an Azure Dev Ops Variable Group so that they can be used throughout the Azure DevOps Pipeline. Login to the Azure DevOps, select Pipelines then Library. Within this section create a Variable Group:
Enter a variable group name then select “Link secrets from an Azure Key Vault as variables”. Authorize your Azure Subscription:
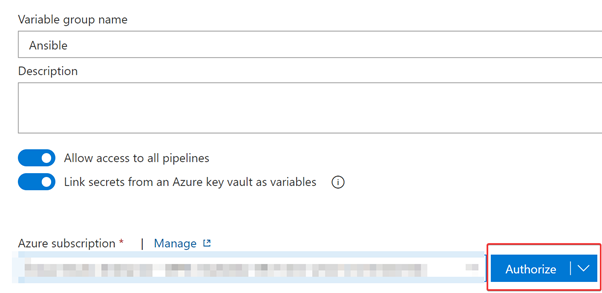
Once the Azure Subscription has been authorized, select the Key Vault and select Authorize:
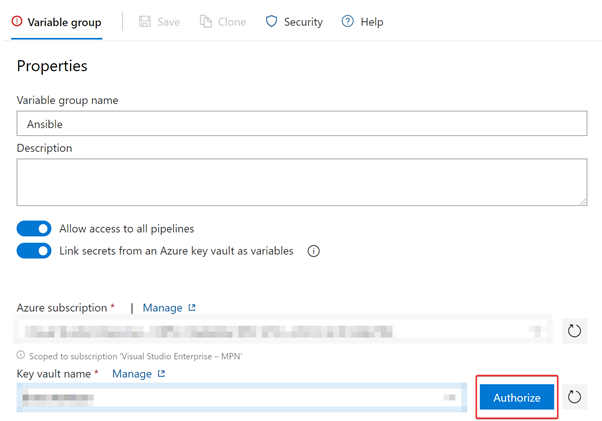
Select the stored local admin username, local admin password and domain username and domain password (If Domain Joining is a requirement for your deployment.)
Now SSH to the Ansible Server deployed earlier and run the following SSH commands:
# Create Agent Directory mkdir myagent && cd myagent
Download Agent
wget https://vstsagentpackage.azureedge.net/agent/2.171.1/vsts-agent-linux-x64-2.171.1.tar.gz
Extract Agent
tar zxvf vsts-agent-linux-x64-2.171.1.tar.gz
Install required dependencies
sudo ./bin//installdependencies.sh
Run Configuration Shell Script
./config.sh
Step through the Wizard
Accept License Agreement
-
Enter https://dev.azure.com/
-
Auth = PAT
-
Enter Personal Access Token
-
Enter Pool Name Ansible
-
Enter Name of Agent
-
Enter path for work folder
Install agent as systemctl service
sudo ./svc.sh install
Start Service
sudo ./svc.sh start
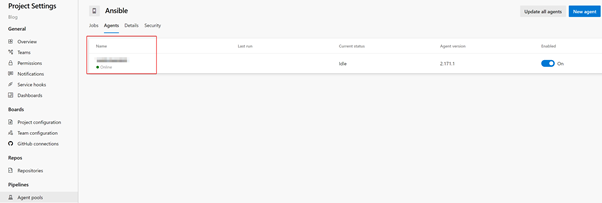
Once completed, navigate back to the Azure DevOps Agent Pools, to check the status of the Azure DevOps private agent. Provided everything went okay in the last step, it should report as “Online”:
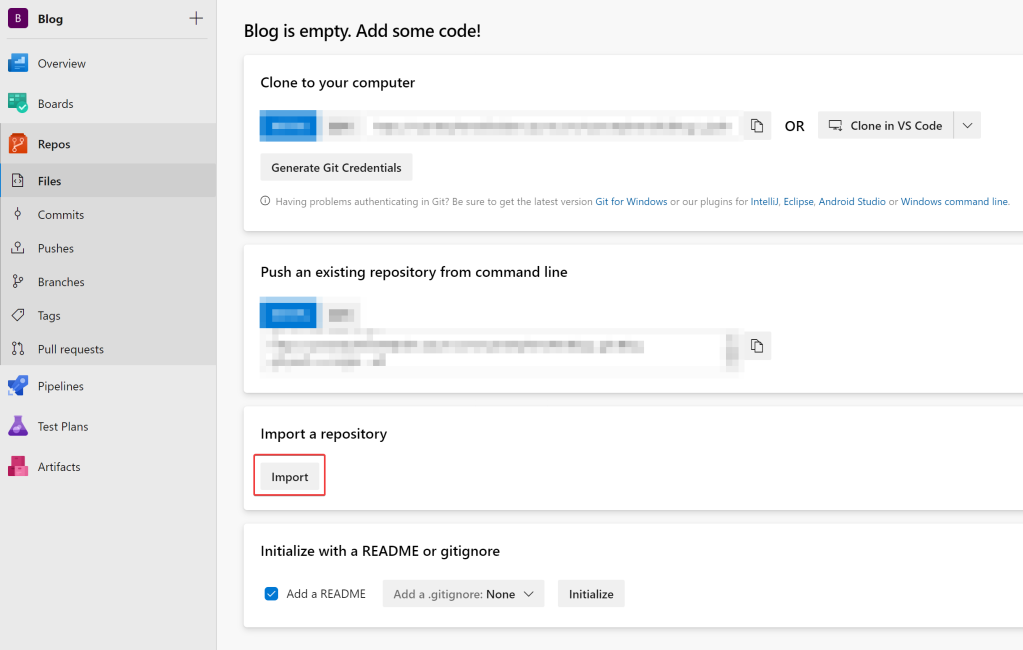
The next step is to import my blog repository from the GitHub. Select Repos then select “Import”, under the “Import a repository” section:
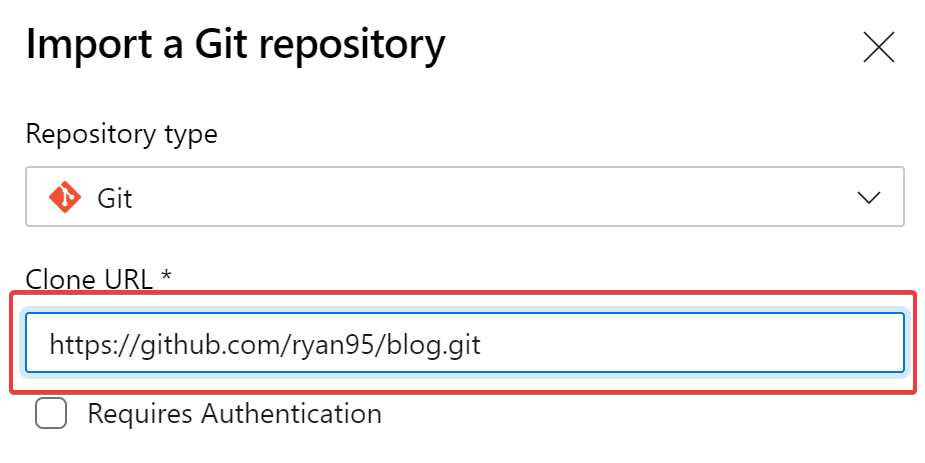
Enter my GitHub Blog Repo URL:
https://github.com/ryanmstephens/blog.git
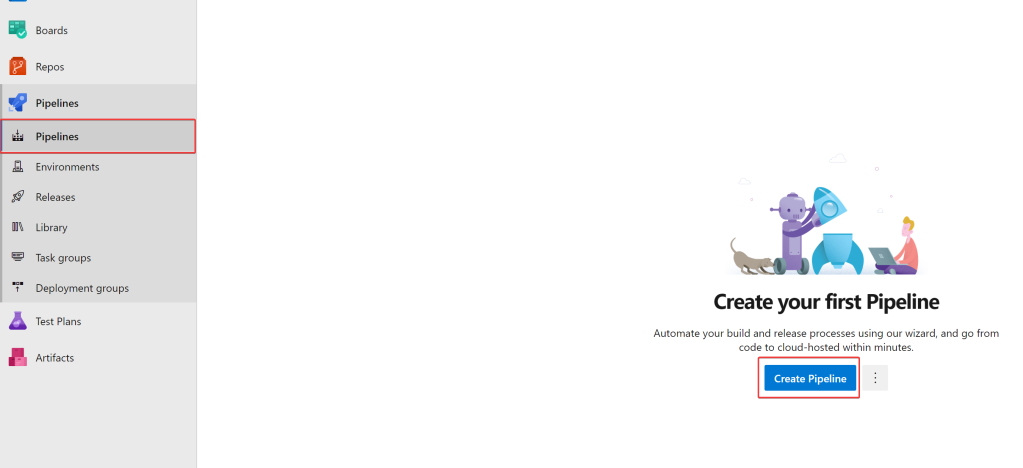
Within Azure DevOps, select Pipelines then Pipelines again. Within this section we will create an Azure Build Pipeline. Select Create Pipeline:
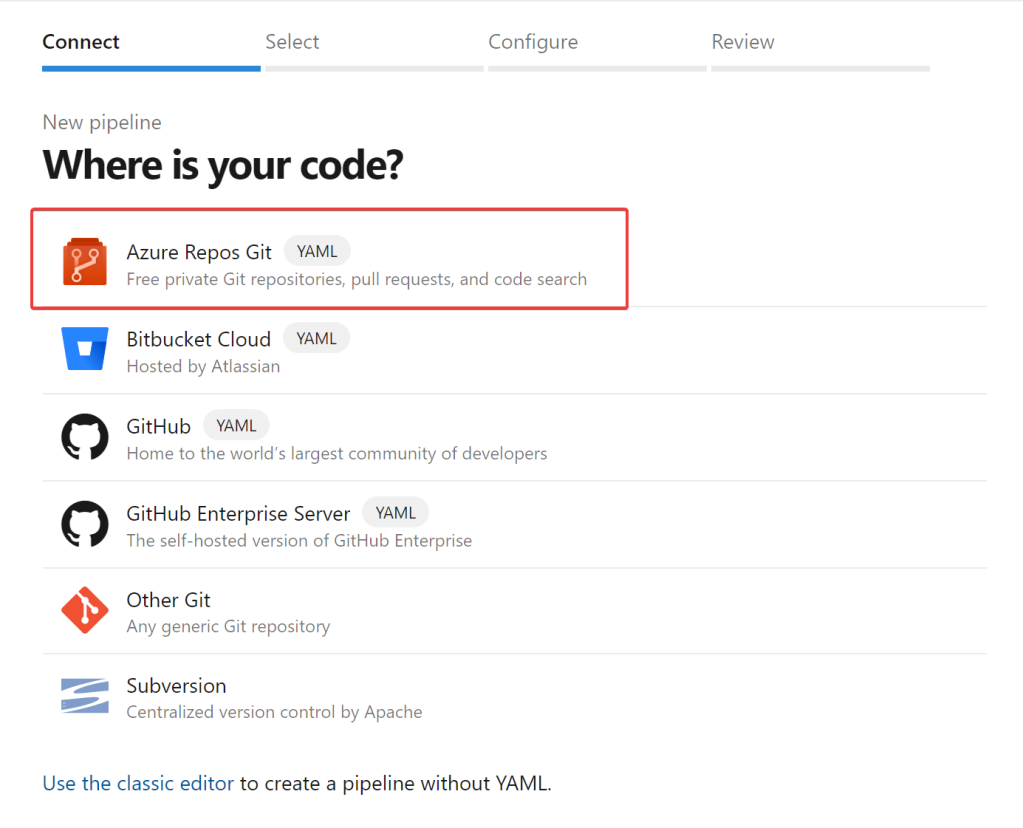
Select Azure Repos Git:
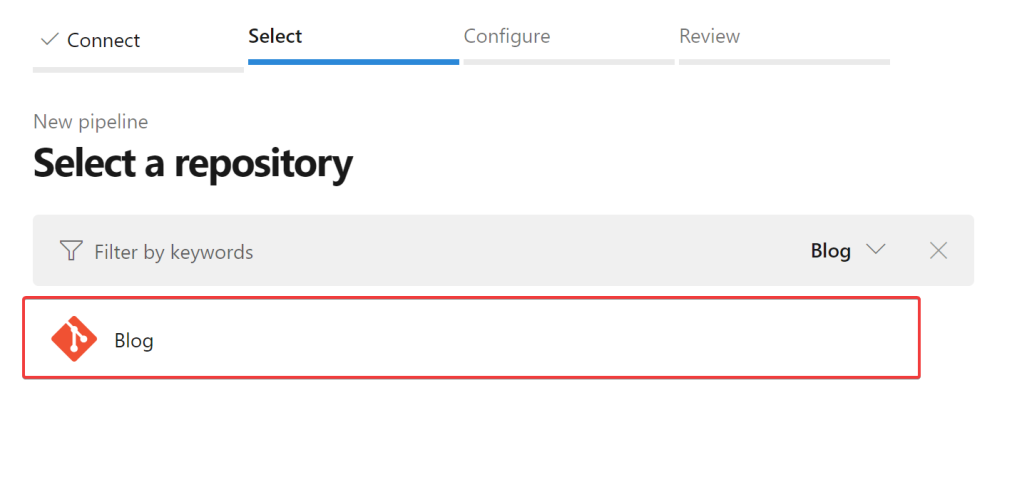
Select, the Repo we imported earlier:
Select “Existing Azure Pipelines YAML file”
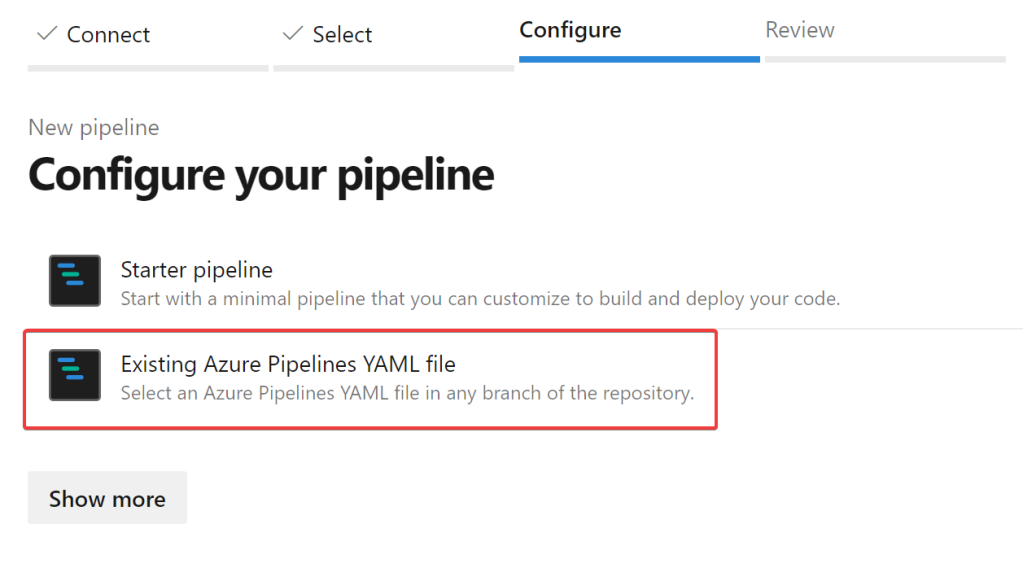
Select the following path /Ansible/Build-Pipeline/azure-pipelines.yml
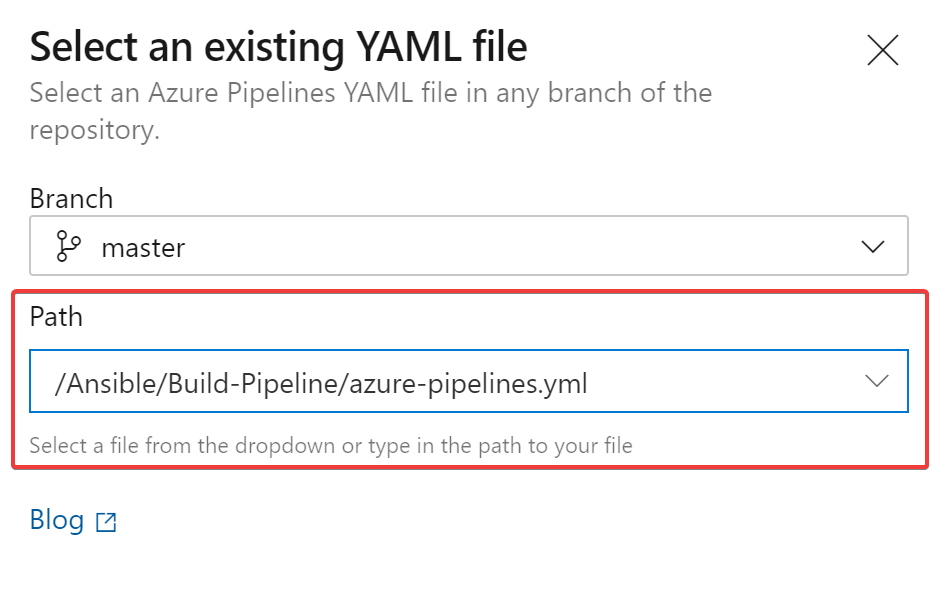
Below is an example of the Pipeline:
trigger:

- master

pool:
 vmImage: 'windows-latest'

steps:

- task: CopyFiles@2
  inputs:
    SourceFolder: 'Ansible'
    Contents: '\*\*'
    TargetFolder: '$(build.artifactstagingdirectory)/Ansible'
- task: PublishBuildArtifacts@1
  inputs:
    PathtoPublish: '$(Build.ArtifactStagingDirectory)'
    ArtifactName: 'drop'
    publishLocation: 'Container'
The above pipeline will copy/publish the files within the repository to the “build.artifactstagingdirectory”, when a new commit is made. This will enable the files within the Repo to be used during the Release Pipeline, in the next step.
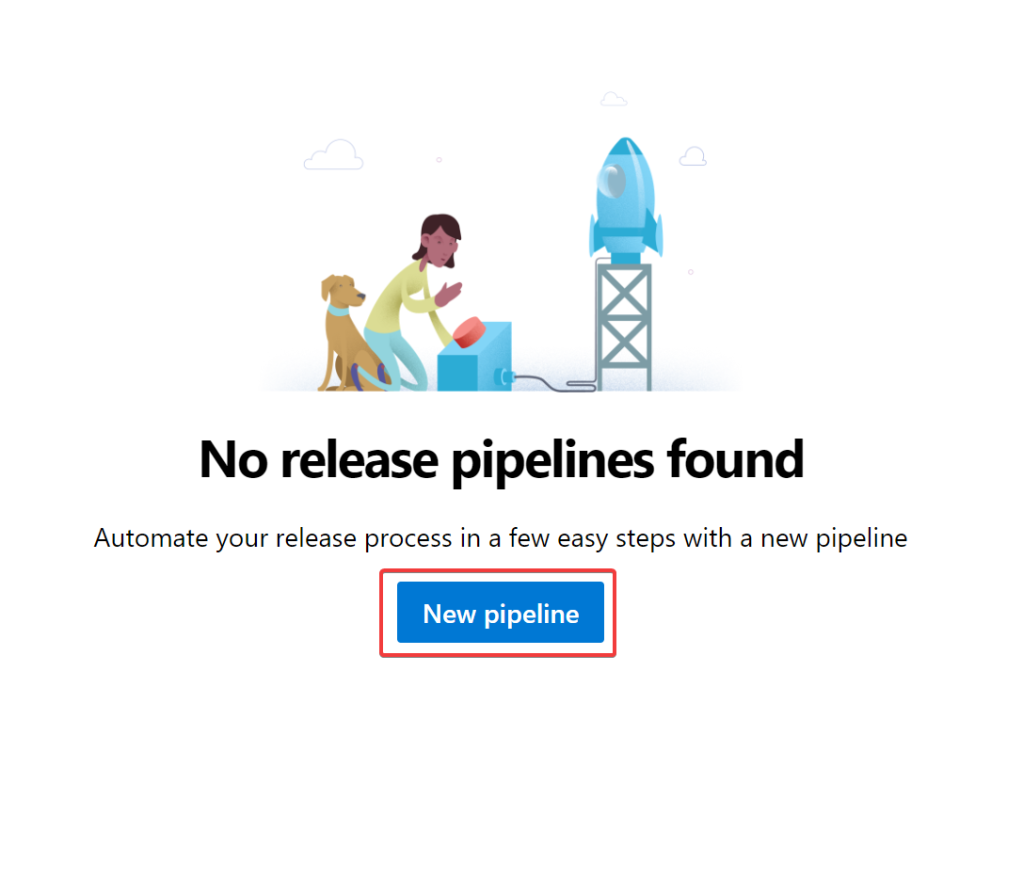
Navigate to Pipelines, Releases then select “Create Pipeline”:
If prompted for a template selection, select “Empty Job”. Next we need to add an artifact to be used throughout the pipeline. Select “Add an artifact” . Select “Build” then select Build Pipeline and accept the defaults:

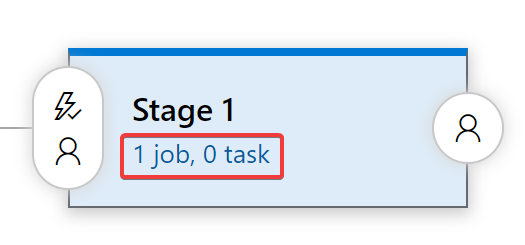
Under Stage 1, select “1 job”:
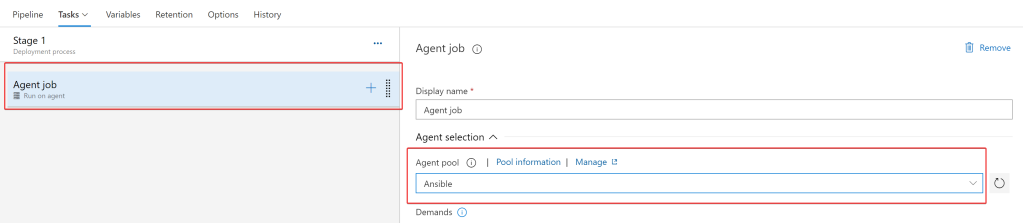
Select “Agent Job” and change the Agent Pool to the pool containing the Ansible server:
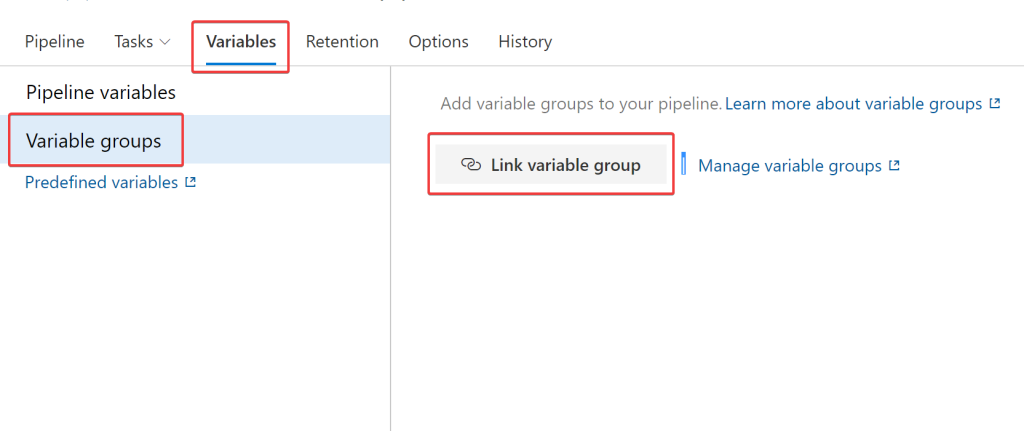
Ansible requires credentials to the nodes that you desire to configure. Earlier within the blog, we imported these credentials into the Azure Key Vault, then linked them to an Azure DevOps pipeline. For these credentials to be used throughout the pipeline we need to link the Variable Group to the Pipeline. To do this select “Variables”, “Variables groups” then select Link variable groups:
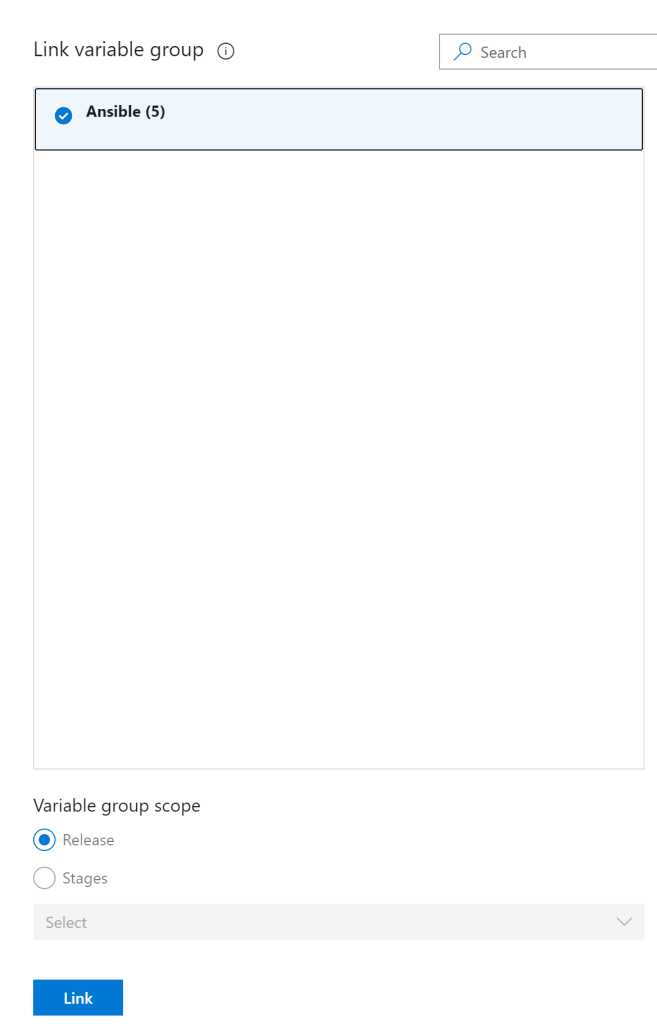
Select the Variable Group we created earlier then select “Link”:
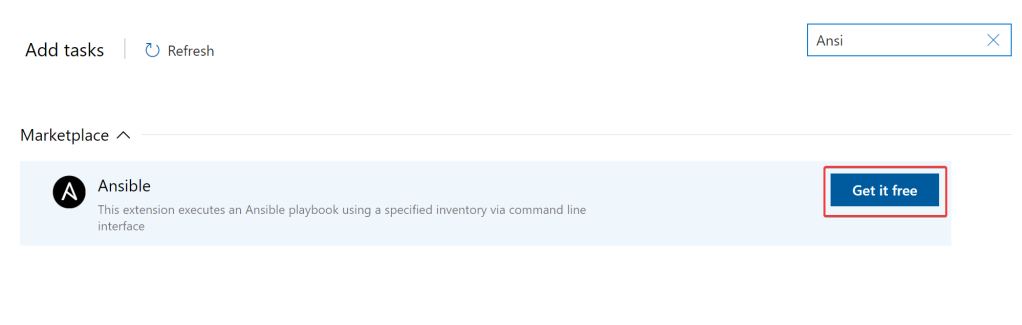
Select the plus button on the Agent Job, and search for Ansible. If you haven’t used Ansible within your DevOps organisation, you will require to install the extension into your DevOps organisation. If so, select “Get it free” and follow the guidance within the Azure Marketplace:

If the Ansible extension is already installed, then search for Ansible and select “Add”. Set the path to the following:
$(System.DefaultWorkingDirectory)/_Blog/drop/Ansible/Playbooks/BaseBuild/main.yml
This Playbook, will set Windows Server region and time/date settings to UK. Additionally the template will join the server to a domain, domain settings can be specified within the variable file:
\Ansible\Playbooks\BaseBuild\roles\joindomain\vars\main.yml
-– domainname: blog.local OU: “OU=Servers,DC=blog,DC=local”
Under “Inventory location” section, select “Inline” and paste the below:
[webserver]
ServerName ansible_host=<ServerIP>

[webserver:vars]
ansible_user=$(AnsibleUser)
ansible_password=$(AnsiblePassword)
ansible_connection=winrm
ansible_winrm_transport=credssp
ansible_winrm_server_cert_validation=ignore
DomainUser=$(DomainUser)
DomainPassword=$(DomainPassword)
The following varibles are being securely passed in from the Azure Key Vault using Variable Groups:
- $(AnsibleUser)
- $(AnsiblePassword)
- $(DomainUser)
- $(DomainPassword)
Once completed, save the pipeline and browse to Pipelines, Releases,

If this was successful, create another release pipeline with the following settings:
File path:
$(System.DefaultWorkingDirectory)/_Blog/drop/Ansible/Playbooks/WebServer/main.yml
Inventory Inline:
[webserver]
ServerName ansible_host=<server-ip>

[webserver:vars]
[webserver:vars]
ansible_user=$(DomainUser)
ansible_password=$(DomainPassword)
ansible_connection=winrm
ansible_winrm_transport=credssp
ansible_winrm_server_cert_validation=ignore
The above template will install the web server IIS Windows server role. Once completed. Navigate back to Pipelines, Releases and create a release:
Summary
Azure DevOps pipelines are a perfect way to deliver environments in Azure using Infrastructure as code with tooling such as ARM Templates or Terraform. This can also be extended to configuration management using tools such as Ansible. Using Azure DevOps to orchestrate Ansible in this way, enables additional functionality outside of the standard version of Ansible, such as storing passwords securely within Azure Key Vault then passing them in via Azure DevOps Variable Groups.
Links: